How to List Rental Properties Online
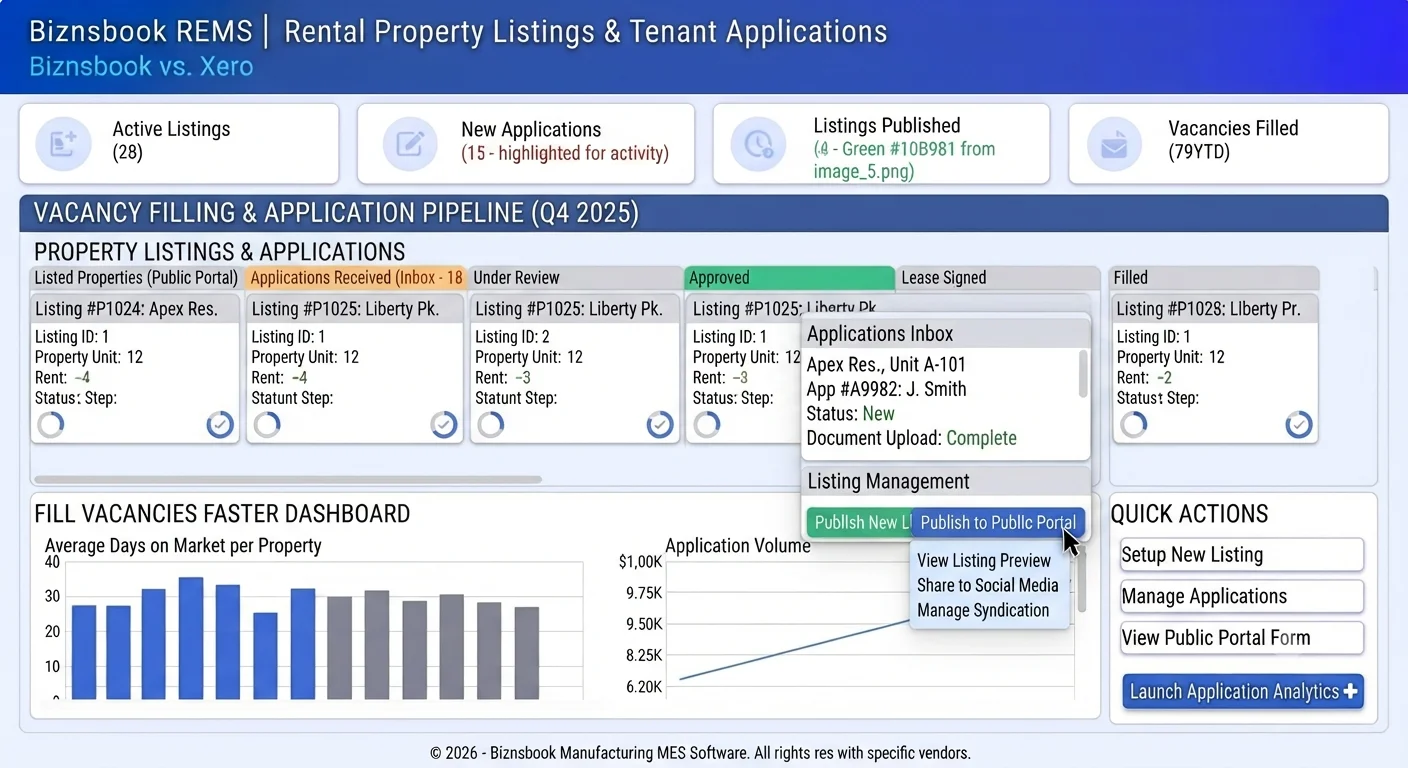
/listings where managers publish units in one click, prospective tenants browse without logging in, and applicants submit a 3-step online application with document upload. Managers triage everything in an applications inbox and convert an approved application into a lease — automatically marking the listing as taken.
Marketing vacancies on scattered channels slows down leasing
Many teams advertise vacant units across classifieds, social posts, and email threads, then collect applications as PDFs, photos, and phone messages. Each channel uses a different format, so comparing applicants fairly and chasing missing documents eats days that the unit sits empty.
When the listing, the application, and the review live in separate places, status updates get lost and applicants are left guessing. A single public portal tied to the same system that manages your units and leases removes that friction end to end.
A structured online listings process improves time-to-lease by combining a searchable public marketplace, standardized applications, and a manager inbox that converts straight into a lease.
Why this happens
- Listings and applications are spread across portals, inboxes, and spreadsheets.
- Applicants submit documents in inconsistent formats that are hard to compare.
- Status changes are communicated manually, so applicants chase for updates.
- Approved applicants are re-keyed into a lease, duplicating effort and errors.
Biznsbook addresses this through a public listings portal, online rental applications, secure document upload, and an applications inbox when the Real Estate (REMS) module is enabled, with optional Communication Center for verification and status emails and Business Automation for listing and application events.
Step-by-step: List Rental Properties Online
Built for landlords, property managers, and leasing teams marketing vacant units and screening tenants.
- Prepare the unit listing. From the unit detail page, click Publish to listings portal and set title, rent amount, rent frequency, available-from date, and a clear description.
- Add amenities and photos. Enter amenity tags (Pool, Gym, Parking) and upload ordered photos — drag to reorder so the strongest image leads.
- Activate the listing. Move it from Draft to Active so it appears at
/listingsfor anyone to browse and filter by rent, bedrooms, pets, furnishing, and move-in date. - Receive online applications. Applicants register a free account, verify their email, and complete a 3-step application with personal details and uploaded documents.
- Review in the applications inbox. Open Real Estate → Applications, filter by status or listing, download documents securely, and message applicants for anything missing.
- Approve and convert to a lease. Approve a strong applicant and click Convert to lease; the lease form is pre-filled and the listing is marked Taken.
- Keep listings fresh. Pause, withdraw, or re-activate as availability changes. Listings auto-expire after 90 days, so re-activate anything still available.
Screen-level flows live in the Help Center. This guide focuses on the leasing process; help articles cover navigation.
Common mistakes to avoid
- Mistake 1: Publishing thin listings without photos or amenities — these convert poorly and rank lower in search.
- Mistake 2: Letting listings sit Active after a unit is taken — always convert or withdraw to keep the marketplace accurate.
- Mistake 3: Leaving applications unanswered — applications with no response after a few days stall and applicants drop off.
- Mistake 4: Re-keying approved applicants into leases manually instead of using one-click convert.
Track recurring exceptions in a weekly leasing review; each should map to a control above.
Best practices that hold up as you scale
- Lead with a strong primary photo and a complete amenity list on every listing.
- Standardize the documents you request so applicants are easy to compare side by side.
- Respond to new applications quickly; consistent communication wins good tenants.
- Convert approved applications to leases directly to avoid duplicate data entry.
- Reconcile listing status against real availability weekly so the portal stays trustworthy.
Teams that keep listing status and availability in sync avoid showing units that are already taken.
How Biznsbook supports this workflow
Public listings portal is documented in Biznsbook Real Estate (REMS) capabilities. Units publish to a searchable marketplace at /listings with filters for rent, bedrooms, pets, furnishing, and availability, plus rich detail pages with galleries and amenities.
Online rental applications let applicants register their own account, verify email, and complete a saved-draft 3-step wizard with secure document upload (national ID, income proof, references).
Applications inbox gives managers one place to filter, review, message, and change status — with email notifications to applicants on every change.
Convert to lease turns an approved application into a pre-filled lease and marks the listing Taken, connecting marketing straight through to leasing and rent collection.
REMS permissions govern publishing, listing lifecycle, and application actions. Public browse and applicant accounts are independent of ERP logins.
Manual advertising vs integrated listings portal
Compare typical manual leasing work with the Biznsbook listings portal and related capabilities.
| Capability | Manual / Classifieds | Biznsbook |
|---|---|---|
| Marketing reach | ❌ Scattered channels | ✅ Searchable public portal |
| Applications | ❌ Mixed formats | ✅ Standardized 3-step wizard |
| Documents | ❌ Email attachments | ✅ Secure scoped upload |
| Status updates | ❌ Manual messages | ✅ Automatic status emails |
| Review | ❌ Spreadsheet triage | ✅ Applications inbox |
| Lease handoff | ❌ Re-key data | ✅ One-click convert to lease |
Metrics to track monthly
- Average days-to-lease per listing
- Listing views and view-to-application conversion
- Applications received vs approved per listing
- Average manager response time on new applications
- Active vs expired vs taken listing counts
Start with three metrics; trend direction matters more than any single snapshot.
Frequently asked questions
Do tenants need an account to browse rental listings?
No. Anyone can browse and filter active listings at /listings without logging in. A free, email-verified applicant account is only needed to submit an application.
What documents do applicants upload with a rental application?
A government-issued national ID, proof of income (payslip or bank statement), and optional references. Files are uploaded securely and visible only to the applicant and the reviewing manager.
How do property managers publish a rental listing?
From the unit detail page, click Publish to listings portal, set rent, description, photos, amenities, and availability, then activate. It goes live at /listings immediately.
How is an approved application turned into a lease?
On an approved application, click Convert to lease. The lease form opens pre-filled with the applicant, unit, and rent, and the listing is marked Taken.
How this differs by portfolio type
Residential landlords
Single-family and small multifamily owners fill vacancies faster with a public listing page and standardized online applications.
Property managers
Firms managing many units gain a shared applications inbox to triage, message, and approve applicants across the whole portfolio.
Developers with rental stock
Developers leasing completed inventory can market units publicly and convert approved applicants straight into leases tied to the same REMS records.